Usage Instructions
How to Submit a Record
This guide will walk you through the process of submitting a record to the system, ensuring your contribution meets all requirements for successful submission.
Submission Workflow Overview
1. Select a Community
Before beginning the upload process, identify and select the appropriate community for your record. This ensures your submission reaches the right audience and reviewers.
Action: Click 'Communities' on the header of the main page and select the specific community you want to upload your record to.

Navigation to community selection
2. Start a New Upload
Once you've selected the appropriate community, you can begin the upload process.
Action: Click on the 'New Upload' button located in the top navigation menu.

The New Upload button
3. Fill Required Metadata Fields
3.1. Mandatory Information
-
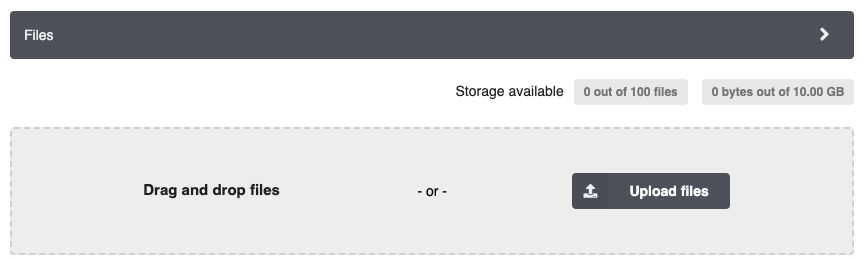
File(s): Upload one or more files for the record. You can either "Drag and drop" the file(s) or select them for upload.
-
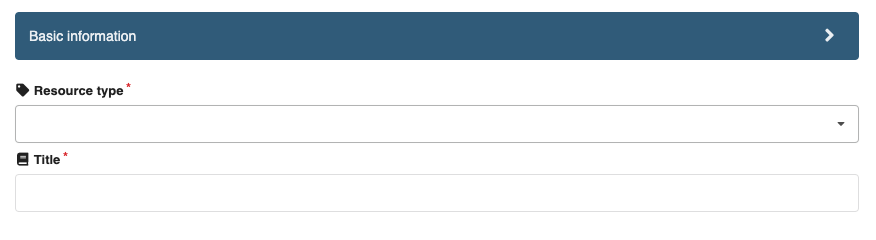
Resource Type and Title: In the "Resource type" field, select the appropriate category for your record (e.g., note, paper). In the Title field, provide a clear description of your record.
-
Publication Date: Automatically filled with today's date, but you may adjust it if needed.
Format must beYYYY-MM-DD,YYYY-MM, orYYYY.
-
Creator(s): Click on the "Add creators" button to open the creator search menu.
Use the search field to find ORCID members or other users. If not found, enter names manually.
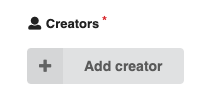 Add as many authors as needed. Click "Save and add another" or just "Save".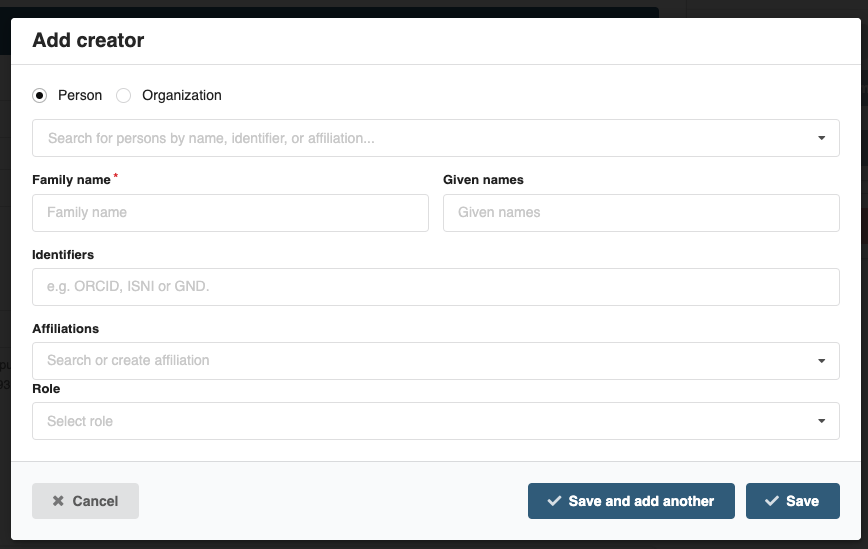
3.2. Additional Information
-
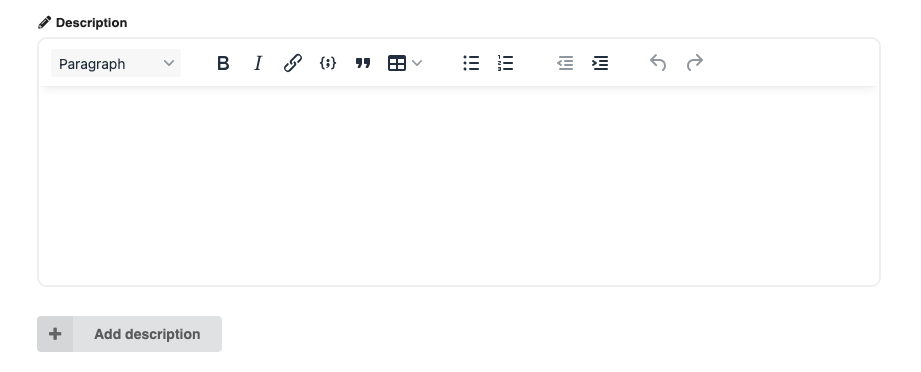
Description: Add one or more paragraphs of description. Optional but recommended.
-
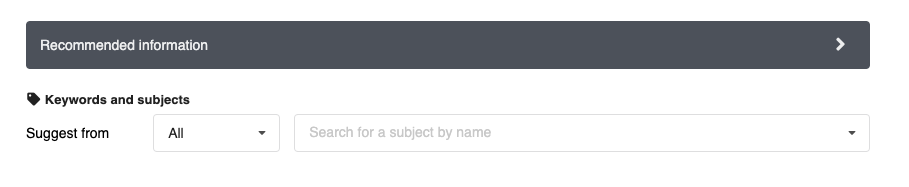
Keywords: Add as many keywords as needed. Optional but recommended.
4. Submit for Review
After completing all the required metadata fields, your document is ready for submission to community managers.
Action Required: Click 'Submit for review' at the top right of the page.
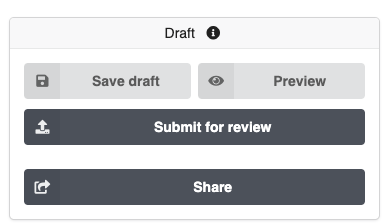
Location of the Submit for Review button
Note: Other options include "Save Draft" (to save and continue later), "Preview" (to see how it will look), and "Share" (not typically needed).
When you select 'Submit for review', a pop-up menu appears. Tick the boxes as appropriate and optionally add a message to the curators. Click 'Submit record for review'.
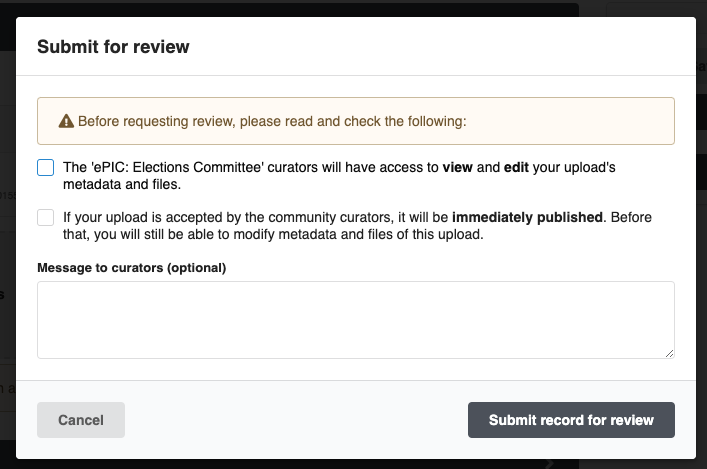
If something is missing, an error message will guide you to the missing field(s). Example:

5. Document in Review
After submission, your document enters the review process. Community managers may provide feedback.
What to expect: Use the discussion panel to respond to reviewer comments or make required changes.
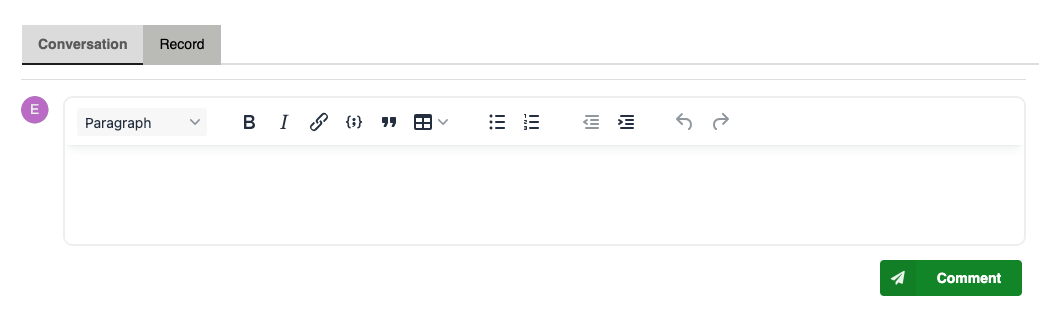
The discussion panel for reviewer feedback
Tip: Check back regularly for updates and respond promptly to expedite approval.